While I cover hardly any of my cakes in fondant, that doesn’t mean I don’t like to make it or use it. I just prefer simple buttercream cakes. However, I recently covered a wedding cake in fondant and decided to make my own so that it tasted better. I had one of two options: marshmallow fondant or classic fondant. The classic fondant recipe required my mixer and some goo – and seeing as how I had just mixed up several batches of almond wedding cake, I decided to spring for marshmallow fondant. Here is how it is made my friends:
1) Make sure you have a nice big bowl that all of your marshmallows will fit in with extra room. When marshmallows are heated, they expand in size. You don’t want an overflowing bowl of melting marshmallows in your microwave = sticky sticky mess.

2) Get friendly with some shortening – you’ll be using a lot of it. GENEROUSLY grease your bowl with shortening – I use Crisco.


3) Pour in a bag of marshmallows. You can use mini or regular. Mini might melt faster. This will make about enough fondant to cover a 10” two layer cake. If you need more than that, add two bags of marshmallows.

4) Sprinkle about 2 tablespoons of water over the top. I also sprinkle a little almond extract. Microwave the marshmallows in 30 second intervals. They will almost double in size and start to melt. When they start to melt, use a HEAVILY GREASED wooden spoon (or regular spoon) to stir in between heating intervals.

5) Once they’ve melted, cover a silpat with powdered sugar and dump out the marshmallow blob on top. If you don’t have a silpat – buy one. It is the best baking investment you’ll ever make. If you greased your bowl well enough, it should slide right out. DO NOT grease your silpat… just cover it thoroughly with sifted powdered sugar.

6) Cover the blob thoroughly with powdered sugar. It is VERY IMPORTANT to sift the sugar, as small clumps will show up and effect the fondant’s smoothness on the cake. Grease your hands THOROUGHLY with shortening. Begin kneading the sugar in. As it starts to stick, add more sugar. Some recipes call for x cups of sugar, but depending on humidity, elevation, etc that can vary. So my rule is to keep kneading in sugar until it has the right consistency of fondant. You don’t want it to be too stiff but it shouldn’t stick to the silpat. When you stretch it, it should remain elastic and not break.


7) Once you are done, cover the fondant with shortening and cover that with plastic wrap and then place in a ziplock bag – try to squeeze out as much air as possible. Let sit over night – this allows the sugar clumps to incorporate. It will keep in the fridge for a few weeks before use!

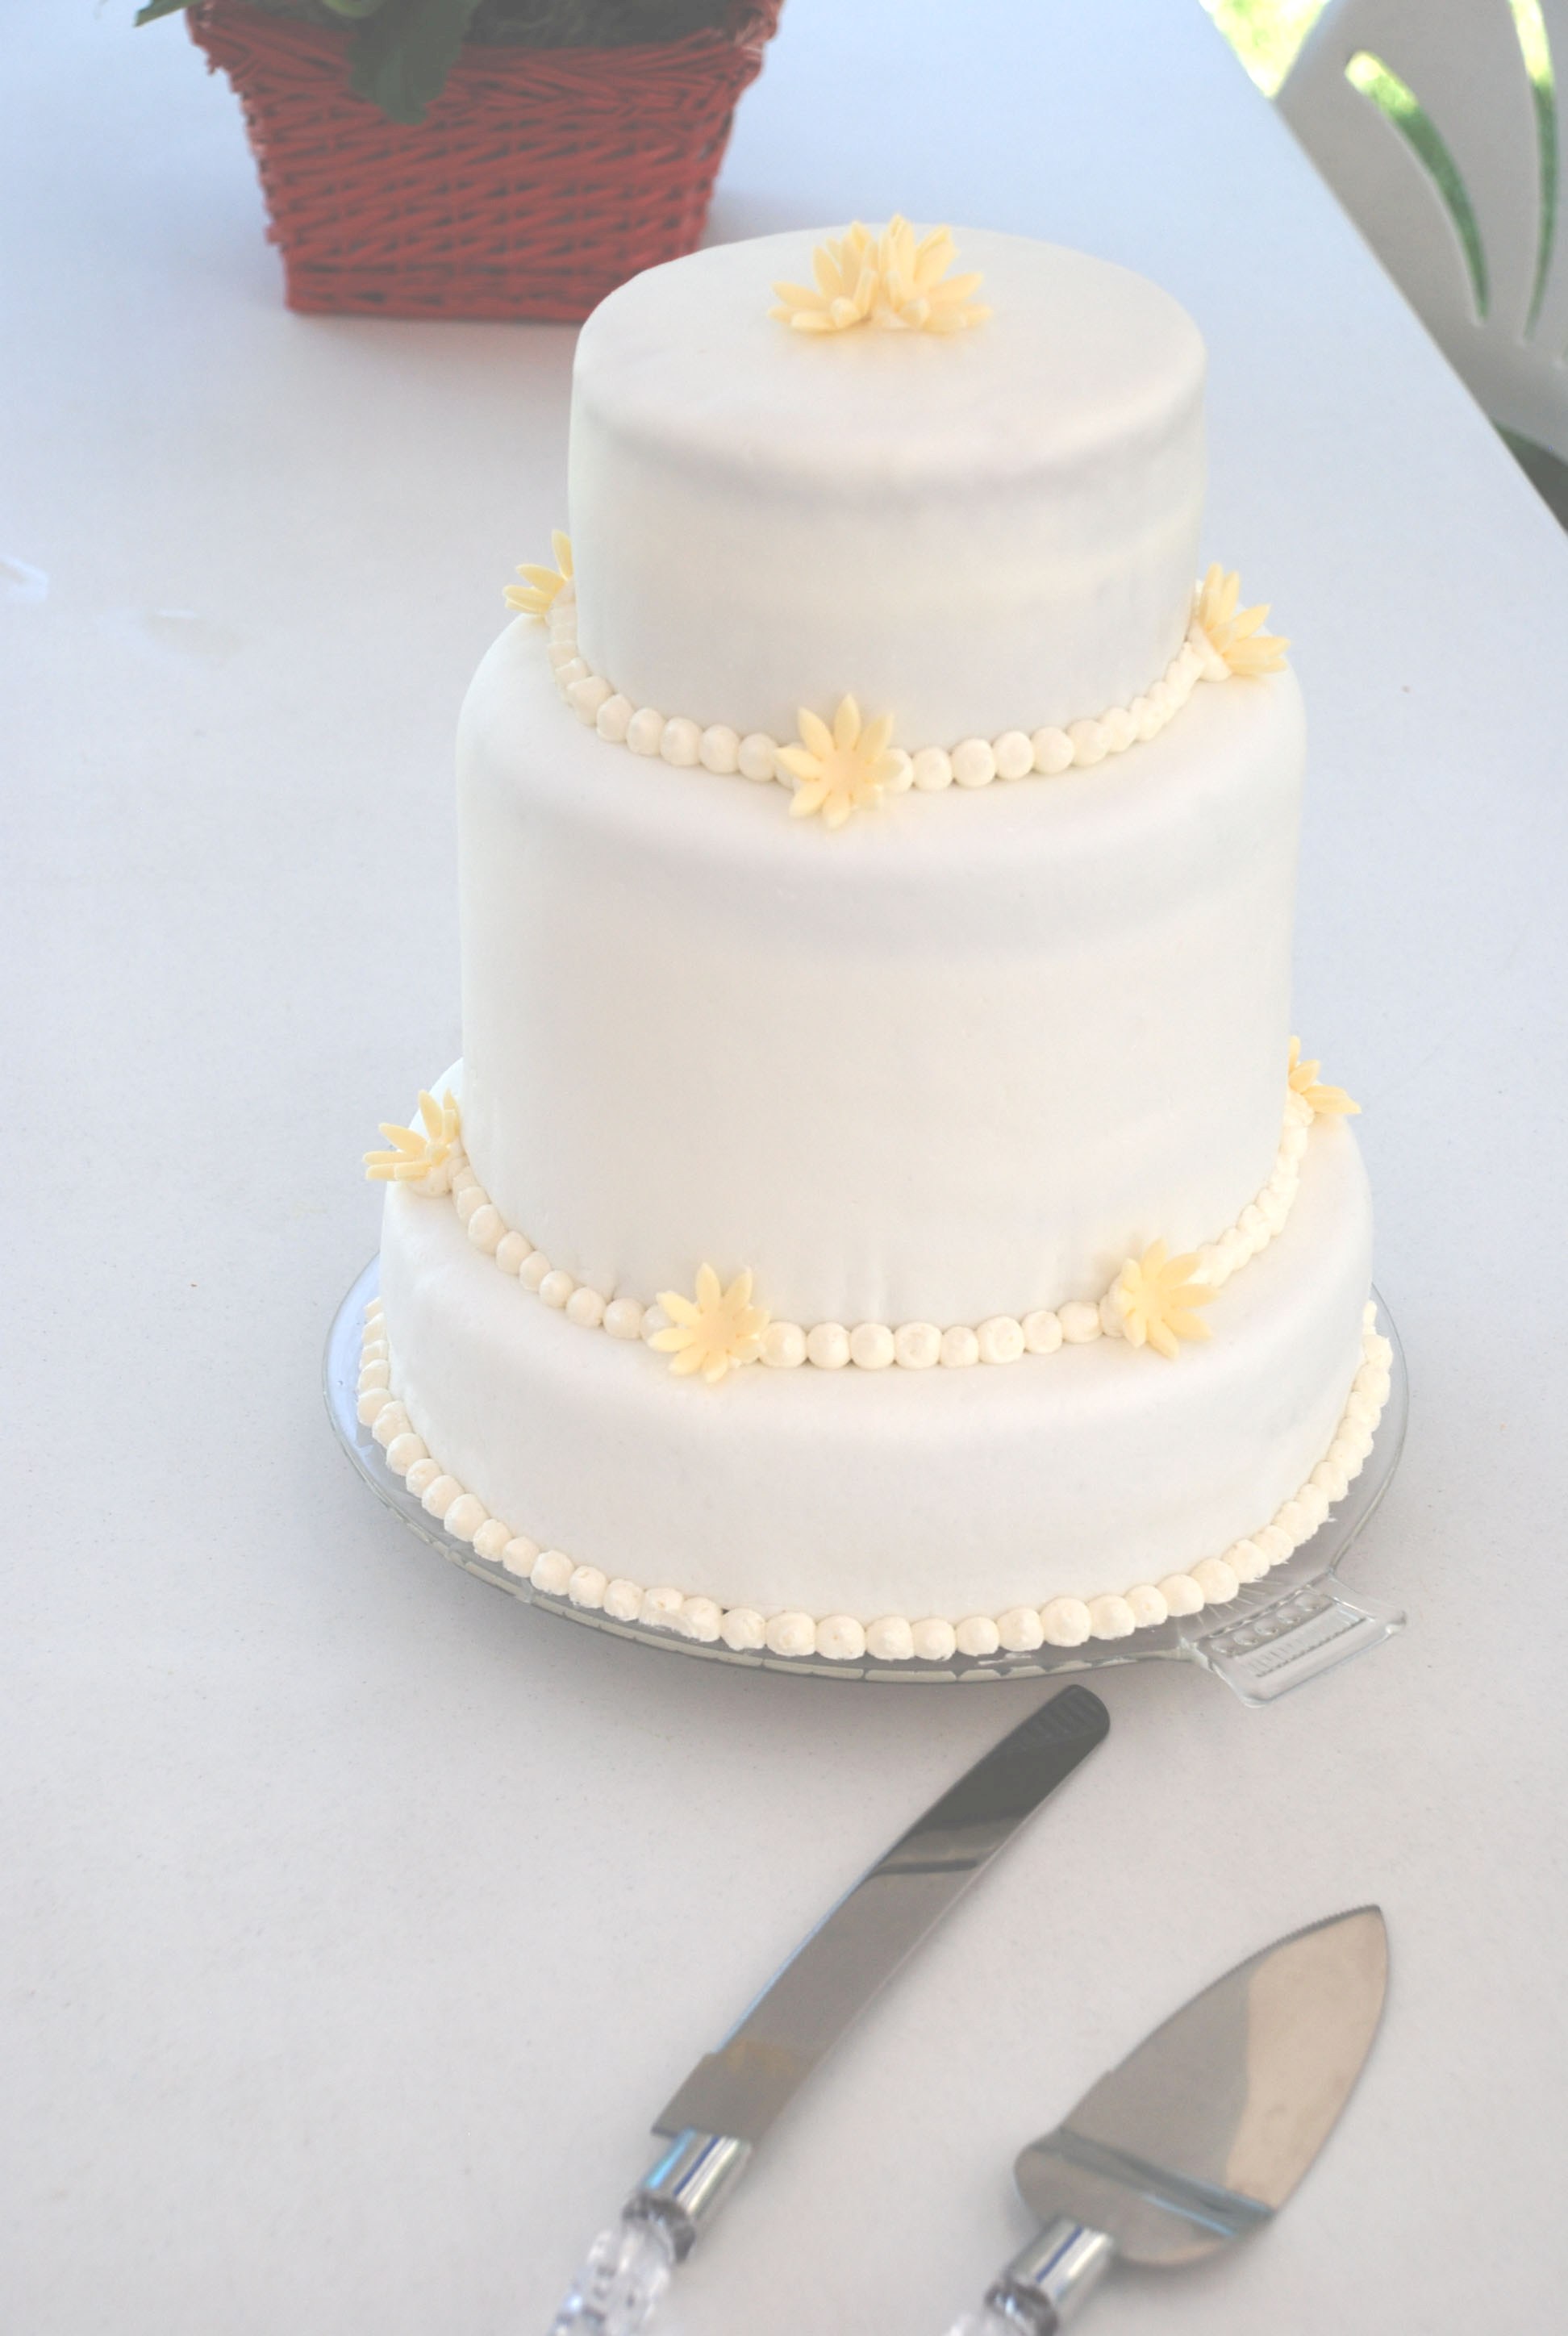
Ta da! You made fondant! A few things to remember when covering a cake with home-made marshmallow fondant – 1) don’t roll it out too thin – maybe a tiny bit thicker than 1/8”. You’ll be able to see through the fondant to the cake if it gets too thin (this sort of happened to me). 2) If your cake is going to be somewhere with slightly hot temperatures, stick it in the fridge before displaying. This will let the fondant firm up a bit and helps prevent dents in the cake when you move it or touch it. Here is an example of the wedding cake that I covered in fondant this past weekend:

Good Luck!
One Trackback/Pingback
[…] Vegas! Last Saturday her family threw a fantastic reception/summer BBQ/yard games shin-dig. I used my marshmallow fondant to cover the cake. I went with a more modern wedding cake – using the “taller […]
Post a Comment