If you asked me to do a shaped cake a year ago… I wouldn’t have agreed until I found a shaped cake pan which, as you can imagine, can be quite limiting. If you’ve ever watched Ace of Cakes or Cake Boss, they stack layers of cake and frosting and then use their giant cake knives to carve off pieces of cake to achieve the end result (think Edward Scissor Hands and some greenery). Granted most of those cake’s are 3D, you can use the same technique to create 2D cakes. For example – my cactus and chili cakes and my 20 cake.
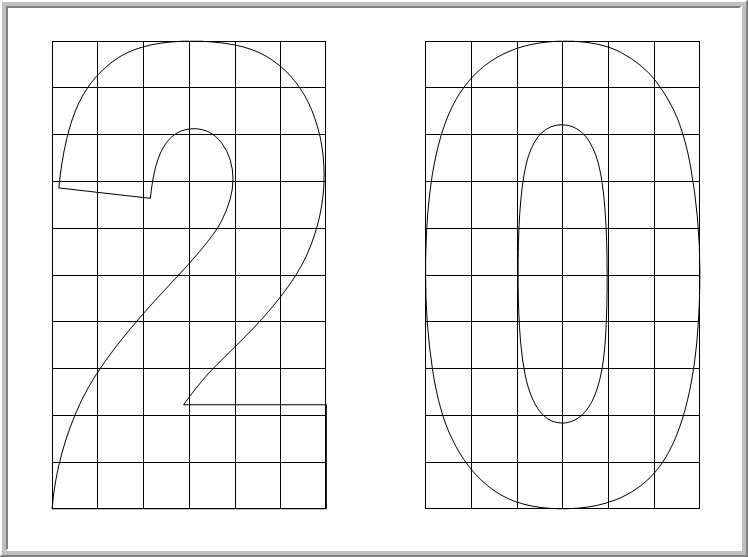
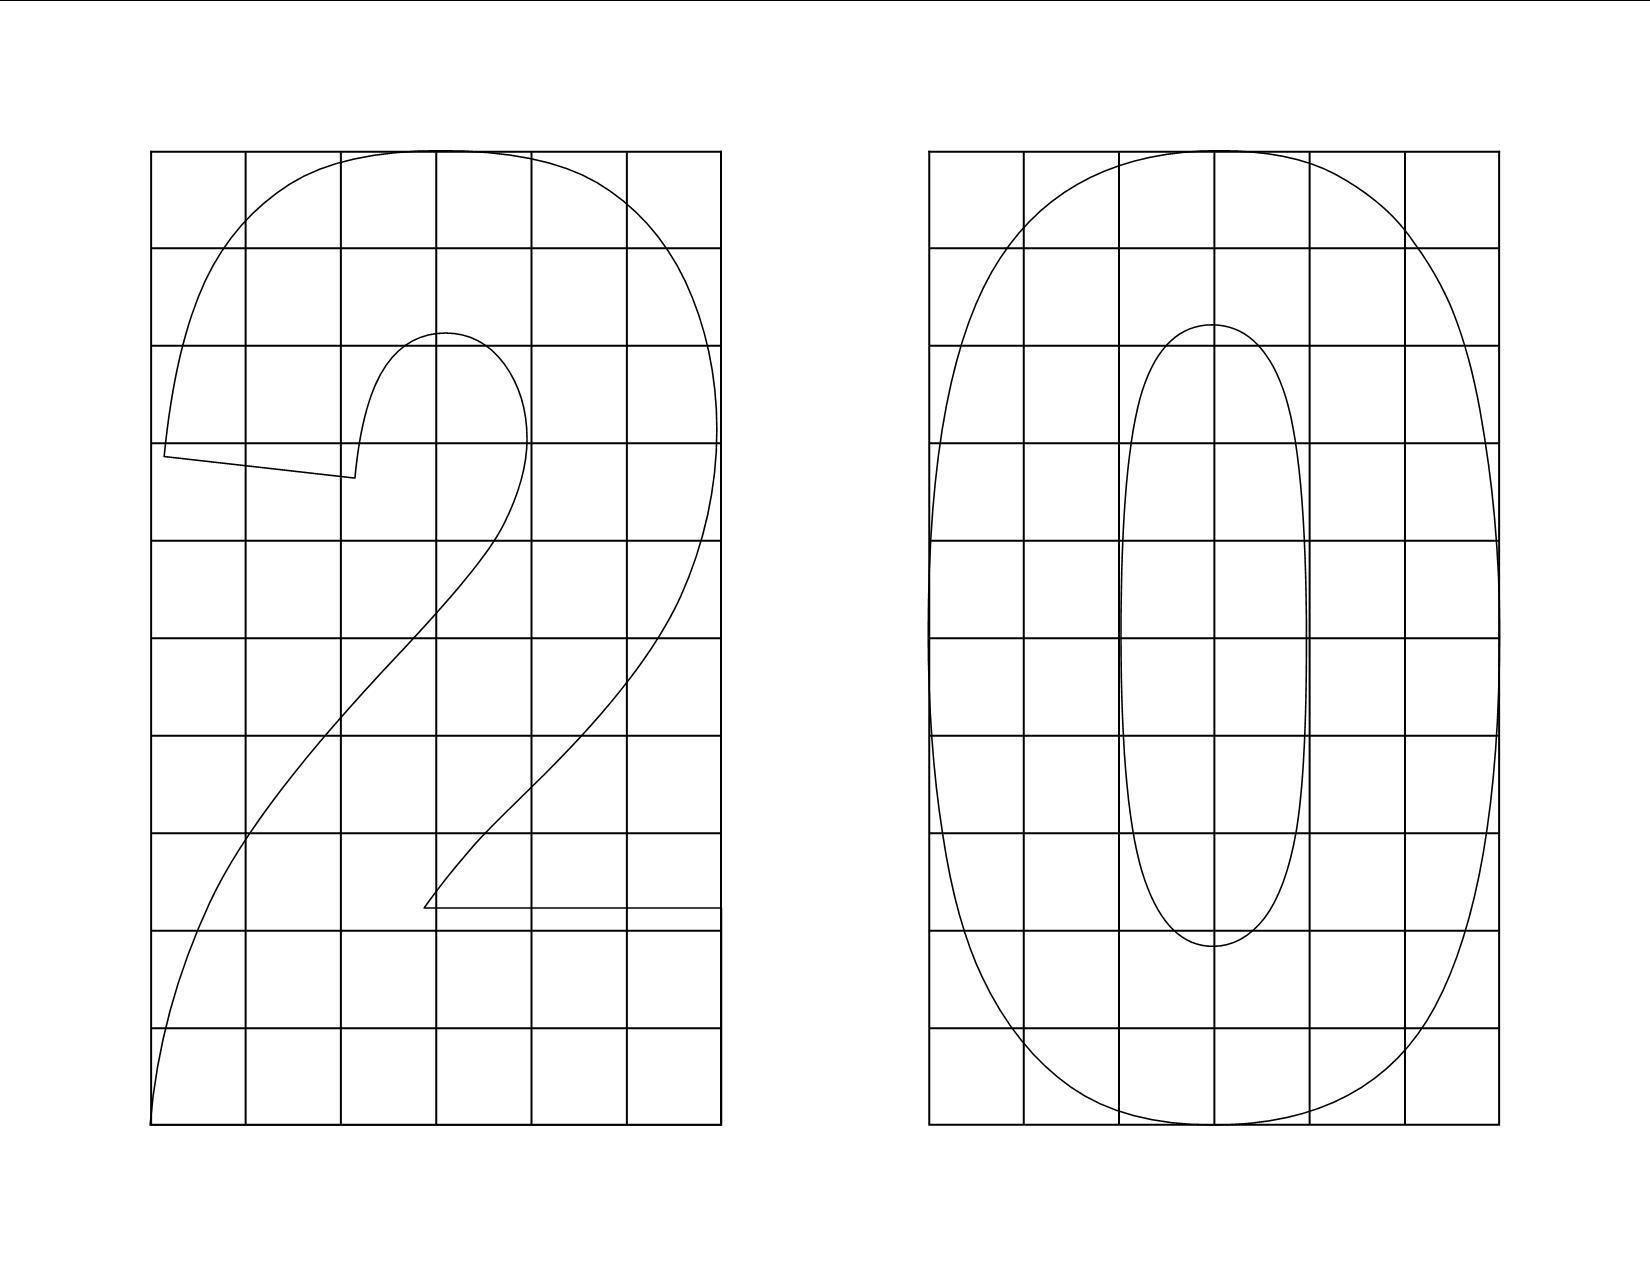
First – a little planning is key. You start with the number of people the cake must serve. A half sheet cake serves 60 people. But if you are carving a shape, you will obviously have less than 60 servings. I’m sure the pros have an easier method, or maybe they just make a giant cake that they are sure will serve everyone and then some. Since I’m math-oriented I create a grid of my cake and draw the shape on top, then count the amount of servings and plan accordingly. Here is my plan for the 20 cake:

The 60 servings is based on one layer of cake. As you increase the number of layers, the servings get smaller (and taller) and therefore the total number increases. I’ve found that a half sheet cake with two layers will feed approximately 75 people. Here I count about 75 servings which is what I was shooting for.
For each cake here, I start by making 2 sheet cakes. Once cooled, I carve the shapes out. I usually free-hand it, but you can cut the shapes out of parchment and use that as a stencil. Lastly, I covered them in buttercream and decorated as I would any layered cake!

Check out the original post here!
One Trackback/Pingback
[…] my vanilla meringue buttercream. I finished the cakes off with blue and purple dots! I will post a tutorial later on shaped […]
Post a Comment